mastering gimbal settings for flawless first time footage
When embarking on your journey to capture stunning videos, mastering gimbal settings is crucial for achieving smooth, professional-looking footage. The year is 2026, and gimbals have become indispensable tools for content creators, filmmakers, and hobbyists alike. Understanding how to set up your gimbal properly can make the difference between mediocre and breathtaking visuals. This article provides beginners with practical tips on getting your gimbal settings just right for that flawless first take.
Understanding Your Gimbal
Before diving into the settings, it's essential to familiarise yourself with the gimbal itself. Most gimbals operate on three axes: pan, tilt, and roll. These movements enable the stabilisation of your camera, resulting in smooth footage even when you are in motion. Knowing how your specific gimbal model functions will help you make informed decisions about the settings you choose.
Setting Up Your Gimbal
Proper setup is the foundation for great performances. First, ensure your camera is balanced on the gimbal. An unbalanced setup can lead to poor stabilisation and may even damage the gimbal over time. Adjust the camera's position on the gimbal's plate until it sits evenly. Many gimbals have indicators to assist with this process, making it easier to achieve balance.
People Also Look For:
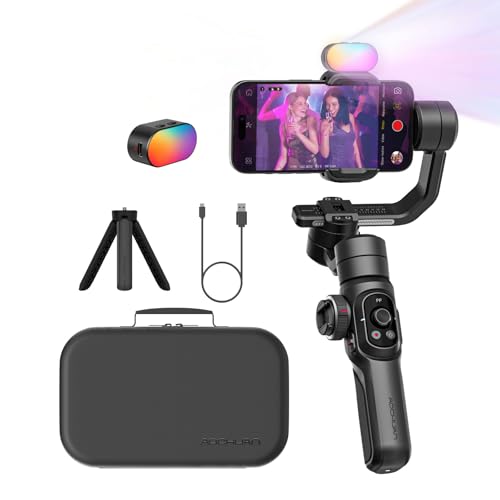
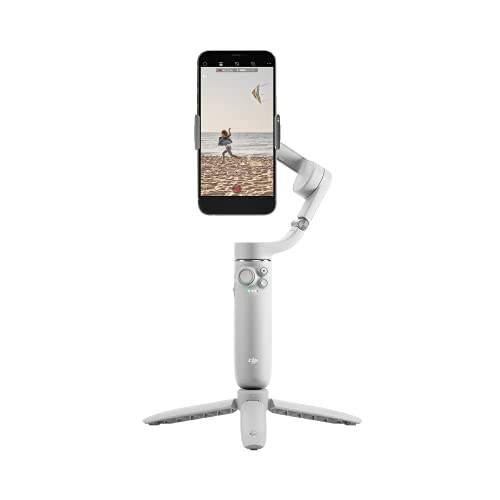
- FeiyuTech SCORP-C2 Gimbal Stabilizer DSLR and Mirrorless Camera, Camera Gimbal with Built-in AI Tracking, Native Vertical Shooting...
- Hohem iSteady X3 SE Gimbal Stabilizer for iPhone, 3-Axis Phone Gimbal, Detachable Remote Control, Portable and Foldable, Compatibl...
- Andoer 360° Auto Face Tracking Gimbal Auto Tracking Phone Holder Smart Selfie Gimbal Stabilizer Robot Cameraman Gesture Control w...
- Insta360 Flow 2 Pro Ultimate AI Bundle "“ Foldable AI Phone Gimbal Stabilizer for iPhone/Android, Apple DockKit, MagSafe Mount, ...
- hohem iSteady Pro 4-Action Camera Gimbal Stabilizer 3 Axis Compatible with GoPro 13/12/11/10/9/8/7/6/5, for Osmo Action/Insta360 O...
Choosing the Right Mode
Most gimbals come with various operation modes such as Pan Follow, Lock Mode, and Follow Mode. Each mode serves different purposes. For beginners, starting with Pan Follow Mode is ideal, as it allows the camera to follow your horizontal movements while keeping the tilt steady. Once you become more comfortable, experiment with Lock Mode for static shots and Follow Mode for dynamic filming. Understanding these modes and when to use them is key to mastering your gimbal.
Adjusting Smoothing Settings
Many gimbals offer smoothing settings, which control how responsive the gimbal is to your movements. For beginners, using default settings is usually best, but as you gain confidence, you may want to adjust these parameters. Increasing the smoothing can help eliminate small jitters, while reducing it can create a more dynamic effect. Test different settings in various environments to see how they affect your footage.
Utilising the App
In 2026, many gimbals come equipped with companion apps that offer additional control and customisation. These apps can help you adjust settings remotely and even create automated movements for more complex shots. Take advantage of these features to refine your gimbal settings. Look for tutorials specific to your gimbal model to maximise your use of the app.
Practising Proper Techniques
Mastering gimbal settings is only part of the equation; your filming techniques also play a significant role. When moving with the gimbal, aim to keep your movements smooth and deliberate. Consider using the 'walking like a penguin' technique, where you bend your knees slightly and shuffle forward, minimising vertical movement. This technique, combined with properly adjusted gimbal settings, will help you achieve that cinematic look you desire.
Experimenting with Different Scenarios
Filming in various scenarios can teach you a lot about gimbal settings. Try shooting in crowded environments, wide-open spaces, and different lighting conditions. Each scenario may require different settings or modes to capture optimal footage. Be sure to review your recordings to identify what worked well and what could be improved.
Final Thoughts on Fine-Tuning Settings
As you gain experience, don’t hesitate to fine-tune your gimbal settings further. Factors such as lens choice, camera weight, and personal style may influence your optimal settings. Take the time to experiment and adjust until you find what works best for you, ensuring that your first footage is truly flawless.